Q2612A cartridge might be termed legendary. Ages of market presence, standard capacitance, easy to refill, no chips, lots of compatible toner, wide range of printers and mfps using this kind of cartridge – doesn’t it looks like an ultimate dream of each user of printing equipment? Today we are going to look at refilling this cartridge.
The following will describe one of the ways to refill Q2612A. Everyone refills differently, so if you have anything to add, leave your comments below.
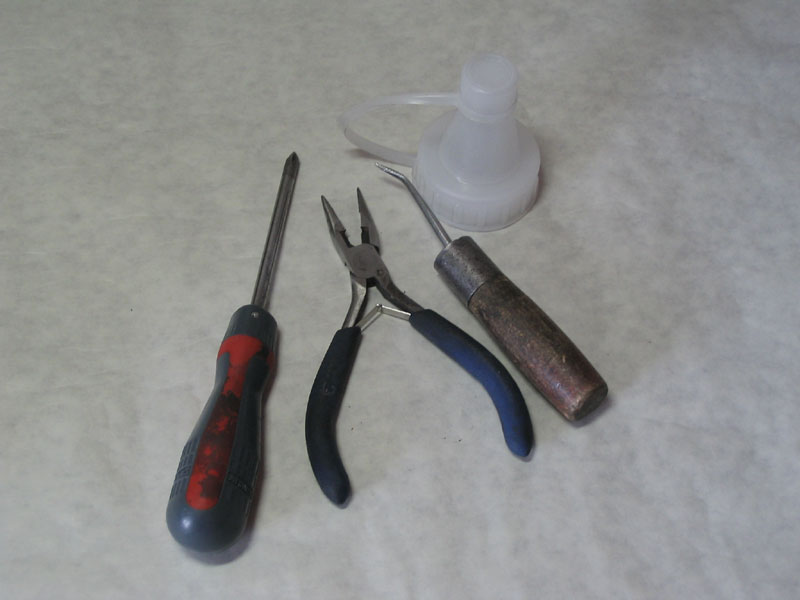
To refill the cartridge you’ll need some tools. You’ll need a cross screwdriver, wire cutter, toner funnel and a homemade awl.
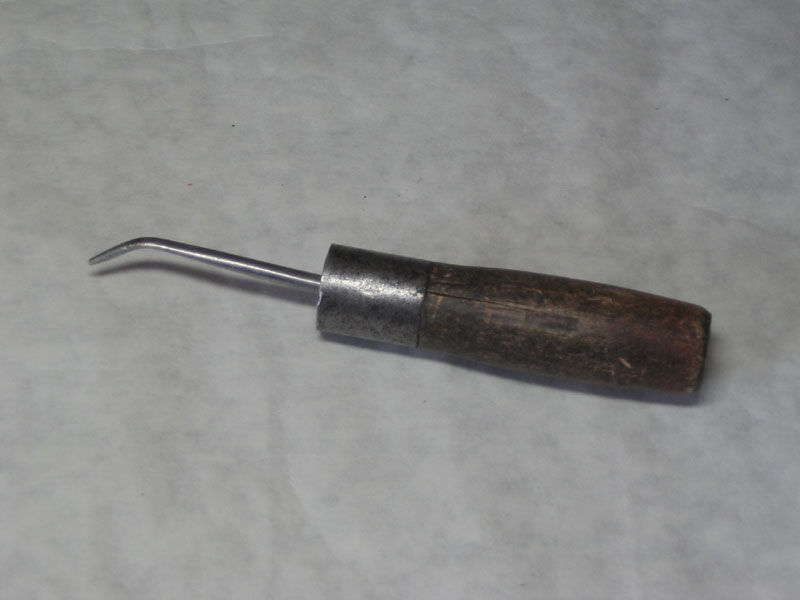
Few words about an awl. You can make one yourself by bending the tip of a usual awl 40 degrees or so. You’ll need this awl to push cartridge pins out. It is also convenient to use this awl not only when refilling the hp lj 1010, but also when working with some other cartridges where pins need to be pushed out. So, I’d advise you to make your own.

Here’s the hero of our story. You can click on the picture and have a closer look.
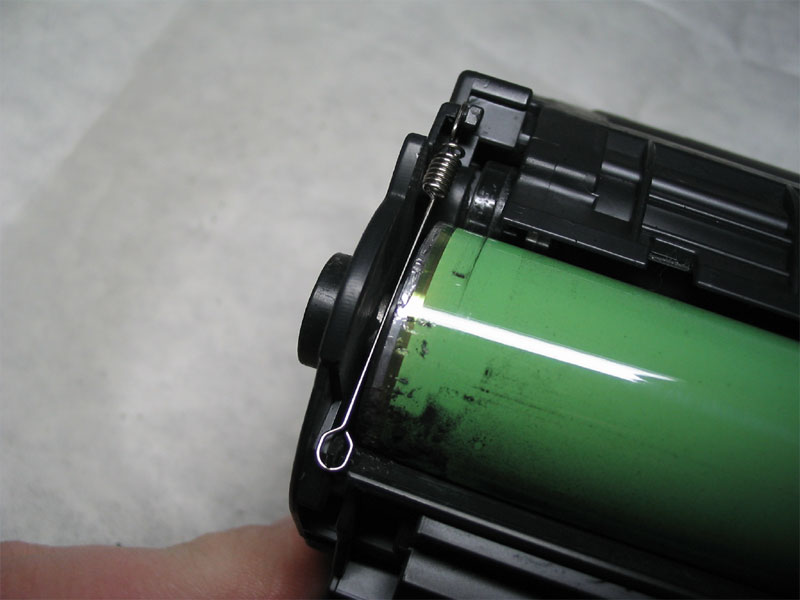
First, you need to take a spring out. Move the protective shutter aside, hook it up with something like a clip or an awl and take the spring out. Try to memorize how it was placed. If you place it wrong it will brush against the drum.
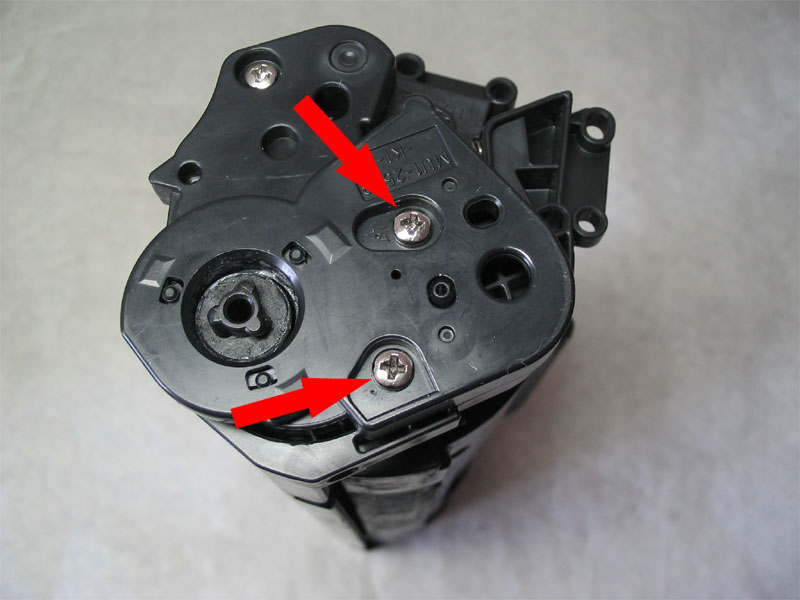
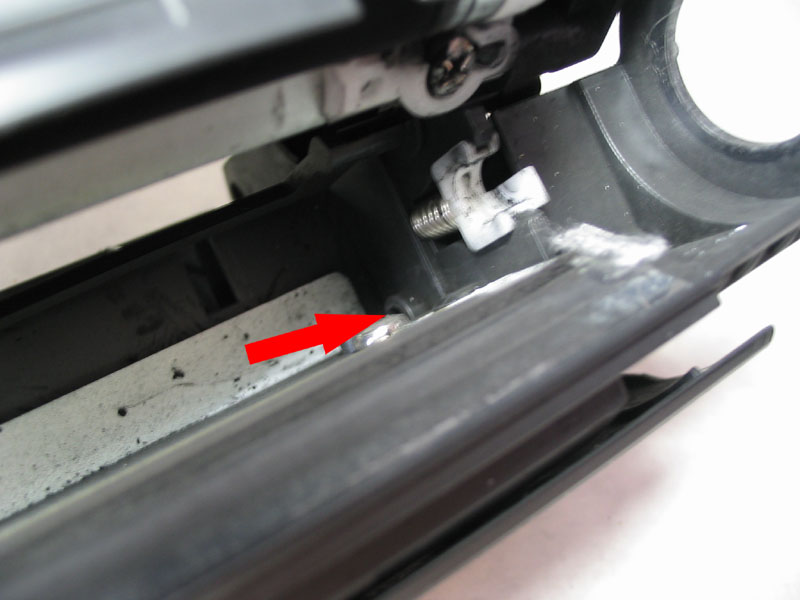
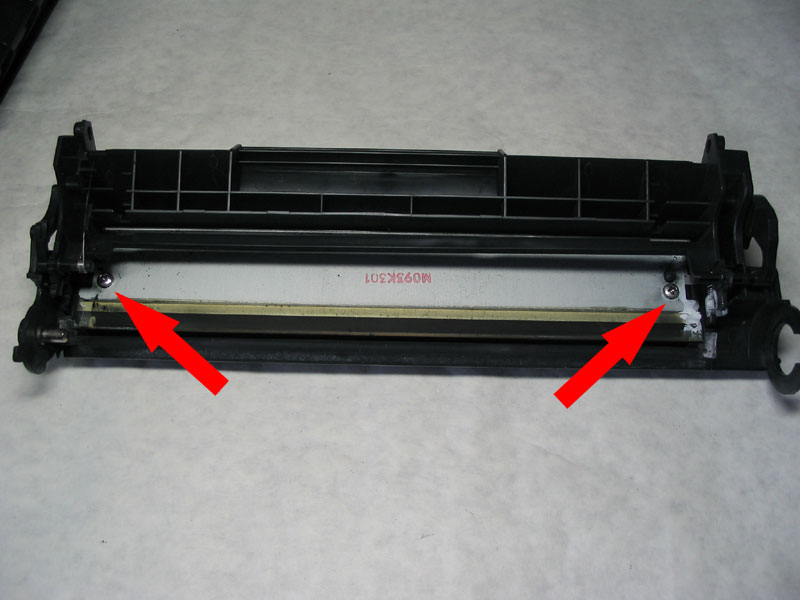
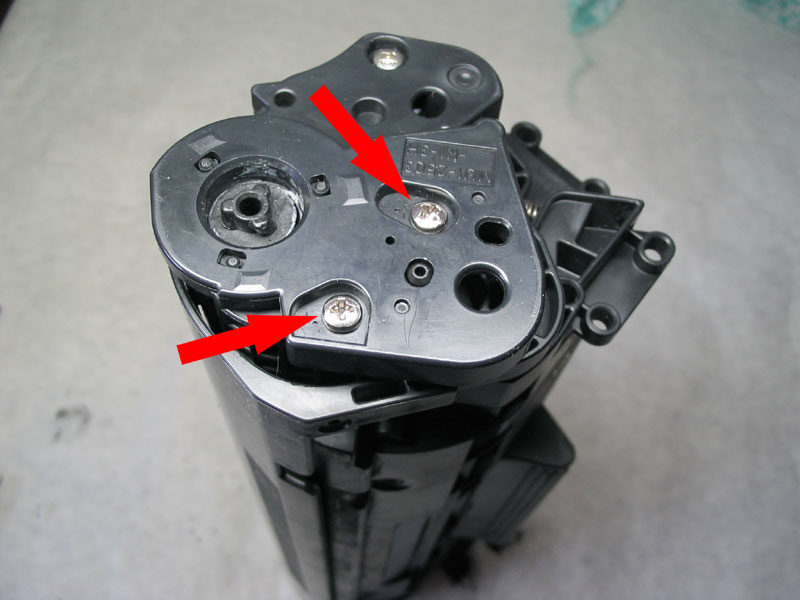
Look at the picture and unscrew two screws which are holding the lid of the drum.
Take off the lid.
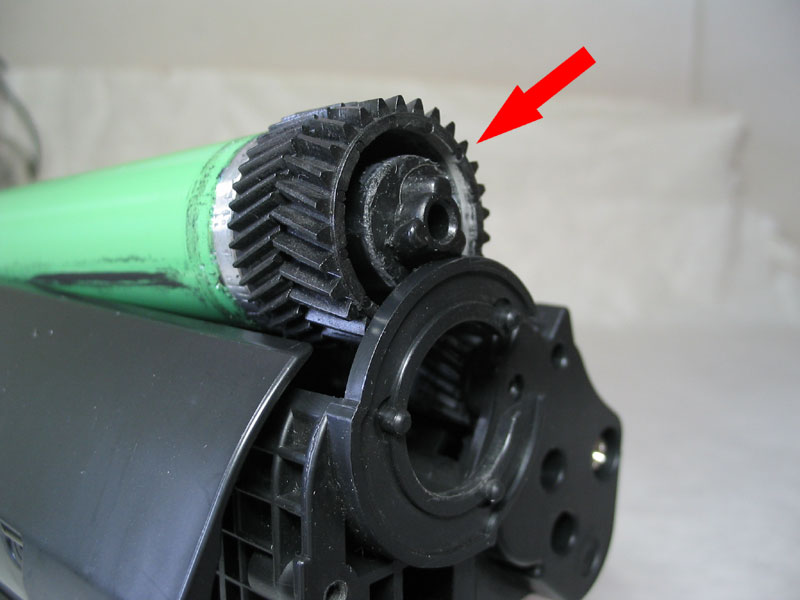
Carefully lift up the drum holding it by the gear and take it out.
Then, using the awl or some kind of a claw, hook the charging roller by the metallic axis and take it out.
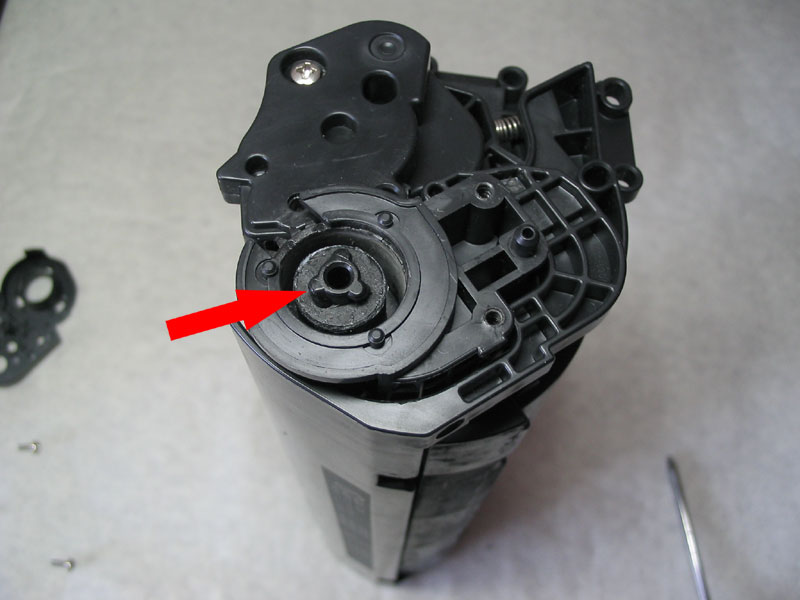
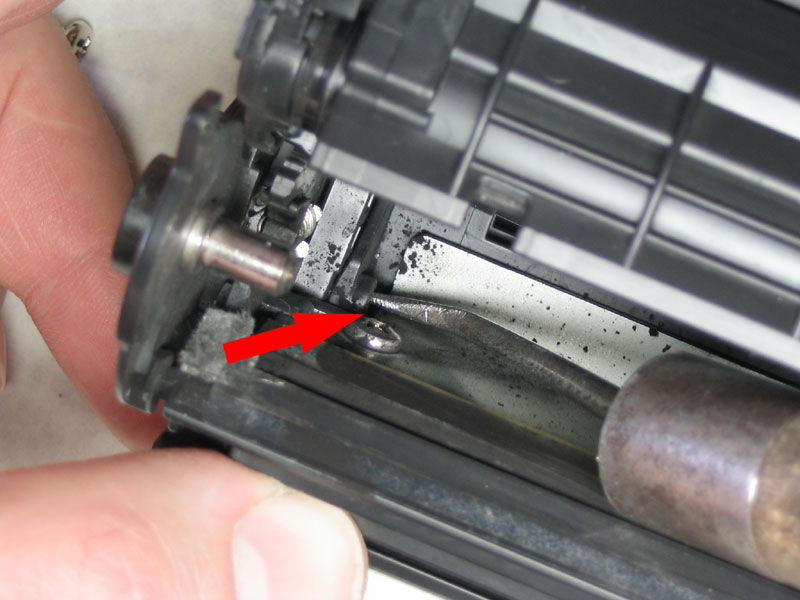
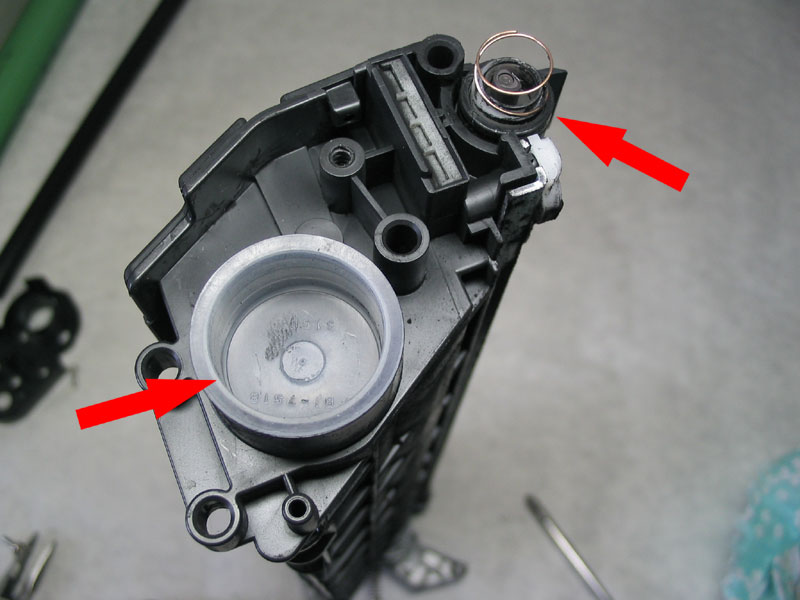
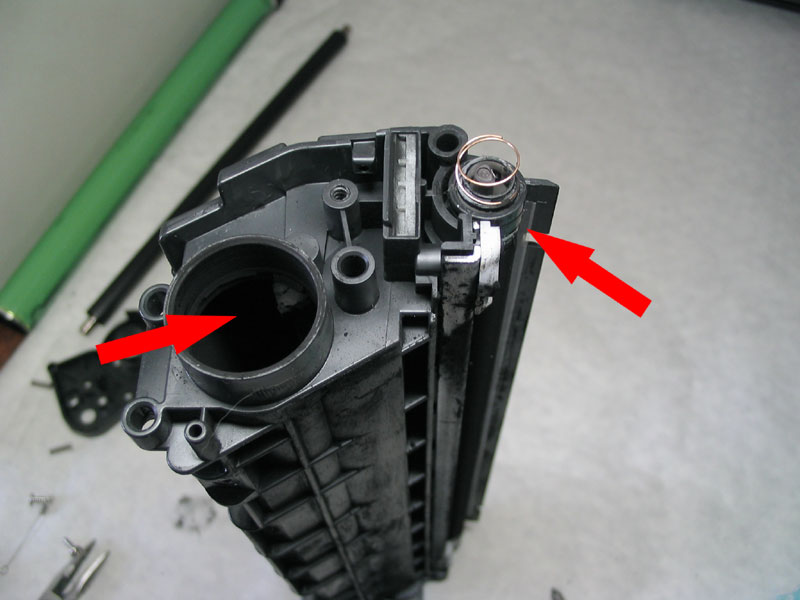
You can see one of the holes inside of the cartridge through which the pin should be pushed out.
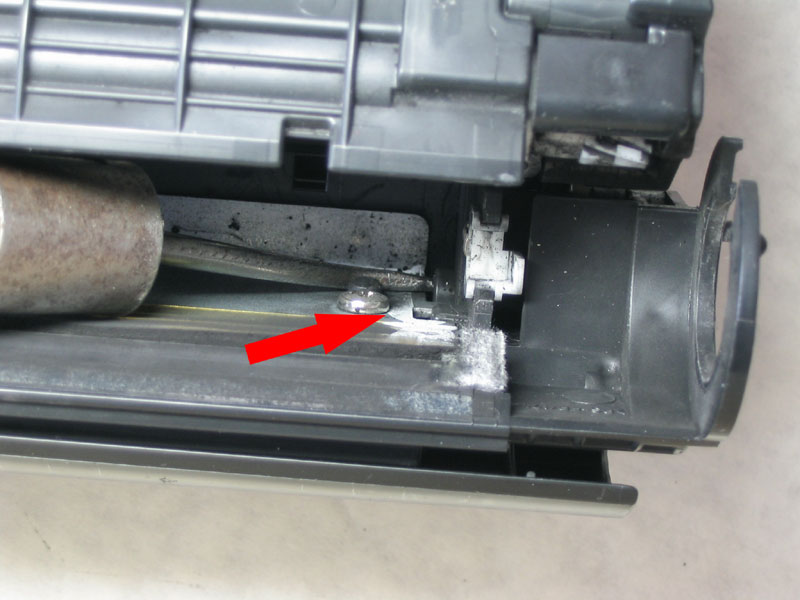
And here’s the hole on the other side of the cartridge.
Take your awl, insert it within the hole and push the pin out.
Do the same thing on the other side of the cartridge. Try not to turn your cartridge a lot, since there is still wasted toner inside. One wrong move and you’re covered with toner.
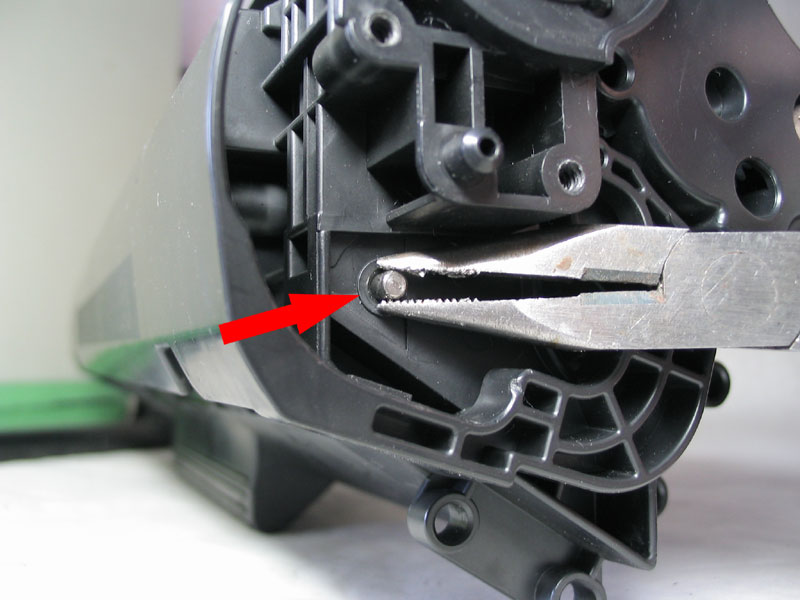
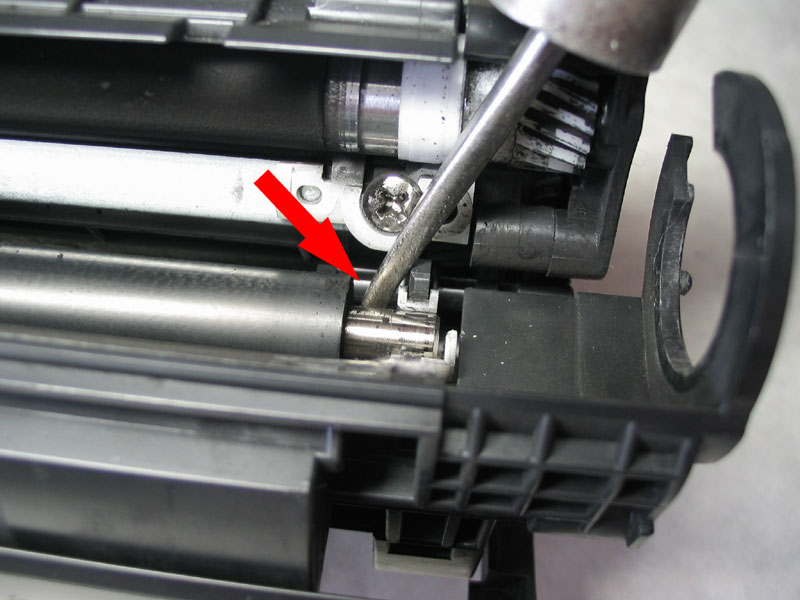
Now, take the pin with your wire cutter or bent pliers on the outer side of the cartridge and take it out.
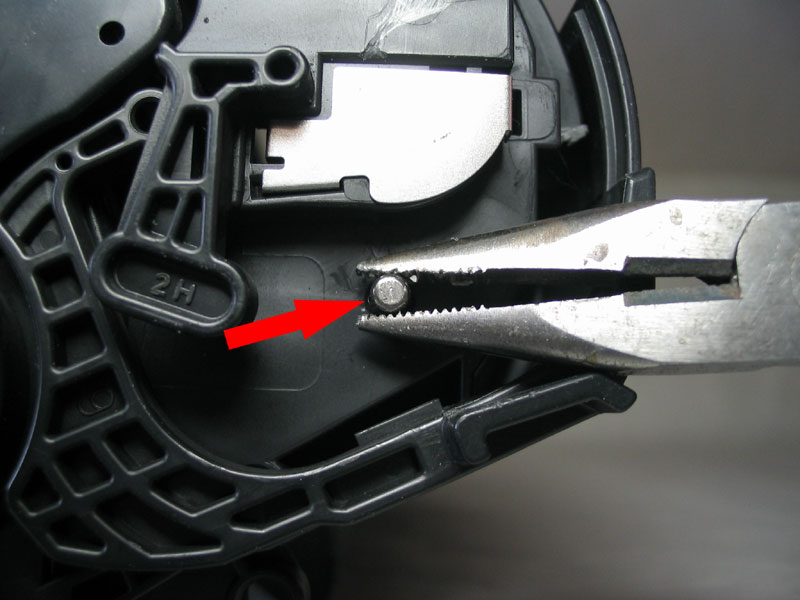
Do the same thing on the other side. That’s it, the cartridge is now separated two halves.
Now, take the half with the wasted toner. There’s a few ways of the course of events. You may take the drum shutter out, unscrew it, shake the wasted toner out and vacuum clean it. You may as well vacuum clean it through the opening near the doctor blade or simply shake it out through this opening. The edge of the doctor blade needs to be cleaned and powdered with toner or some special talcum. If you neglect doing this the drum may be blocked inside of the cartridge. If there’s not built up toner on the edge of the blade, you may not clean it now and do it next time.
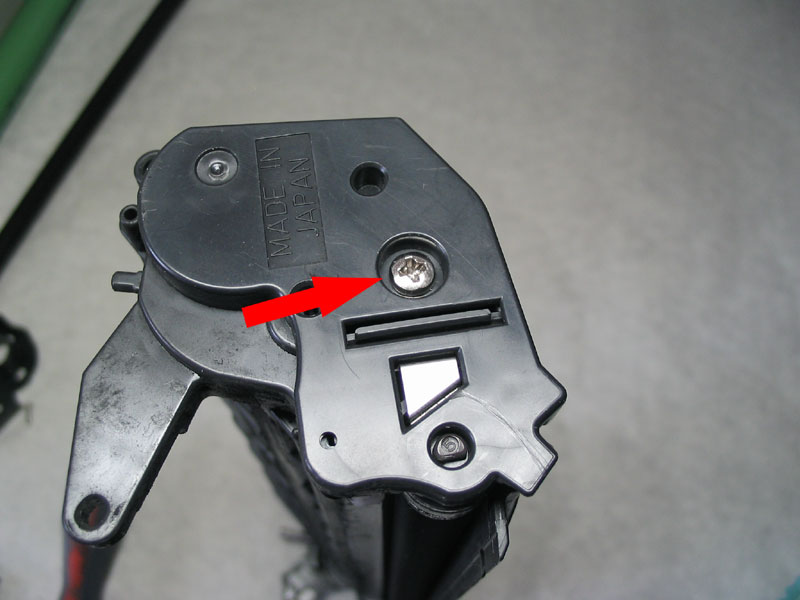
Take the other half with magnetic roller. Unscrew the lid on the side without a gear on the magnetic roller. Carefully dangling the lid, take it off.
Holding the magnetic roller with your fingers, pull out the cap that covers the toner reservoir. Shake out the toner leftovers. If you are able to use a vacuum cleaner, do so. Also it is better to first clean the toner off the magnetic roller and then wipe it with something like a pure benzin.
Now fill the reservoir with the toner. Don’t forget to hold the magnetic roller up, otherwise it may slip and the toner will be all over your table.
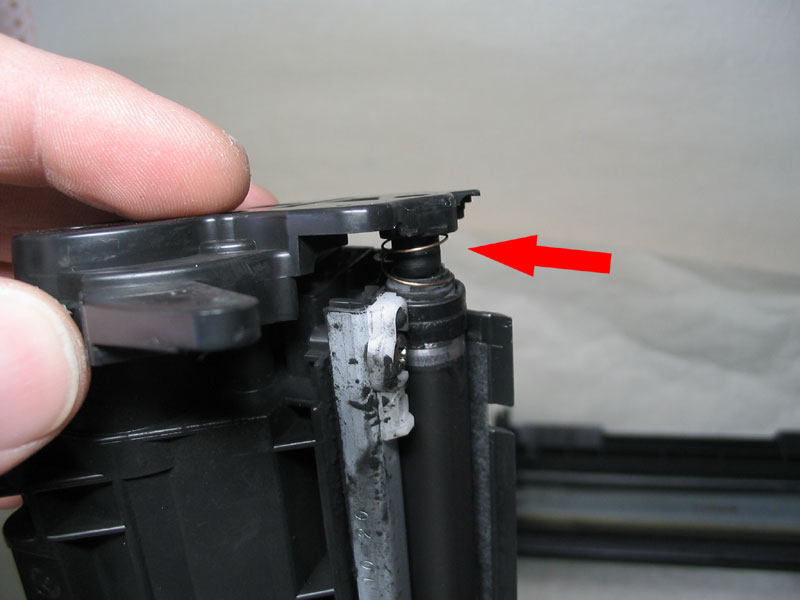
Carefully install the lid back. Try not to damage the magnetic roller spring. And fasten the lid screw.

Take the wasted toner tank half. Wipe the charging roller and install it back. Next, install the OPC drum. Don’t place the side lid back yet, since it will be inconvenient to install pins back after that.

Put the halves together and insert the pin from the one side

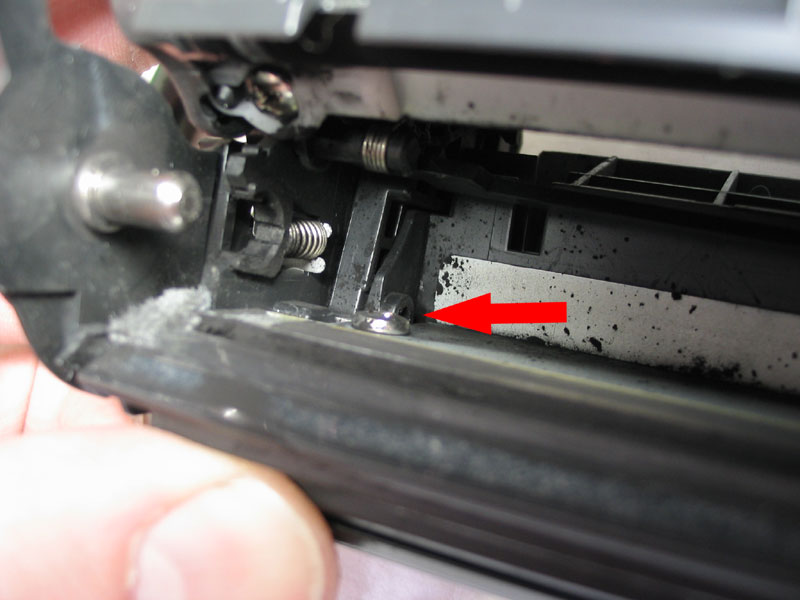
and then from another. Push them in tightly using a screwdriver. Pay attention to the shutter, it should close up just fine and not brush against the pins.
Center the drum, put the lid back and screw it.
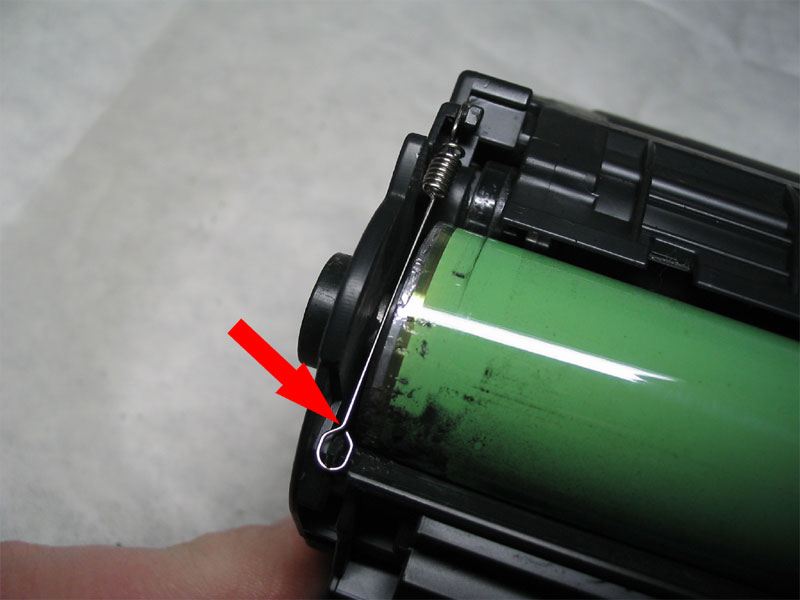
Last but not the least, place the spring back. The correct position of the spring is shown on the picture. Should you place it wrong it will brush against the OPC drum.
The cartridge is refilled.